Install Visual Studio Code on Windows 10 / 11
Visual Studio Code (VS Code) is a highly popular, free, and open-source code editor that’s widely used by developers for a wide range of programming languages and web development. In this comprehensive guide, we’ll walk you through the process of installing Visual Studio Code on your Windows machine. We’ll provide clear examples and detailed instructions to ensure a smooth installation. Let’s get started on this essential tool for your coding journey!
Prerequisite
Before we proceed with the installation, make sure you meet the following prerequisites :
- Windows 10 and 11 (32-bit and 64-bit)
- 1.6 GHz or faster processor
- 1 GB of RAM
In this tutorial, we’ll walk you through a step-by-step guide on how to install Visual Studio Code on your Windows machine.
Installation of Visual Studio Code on Windows machine
Step 1 : Downloading the Visual Studio Code executable file
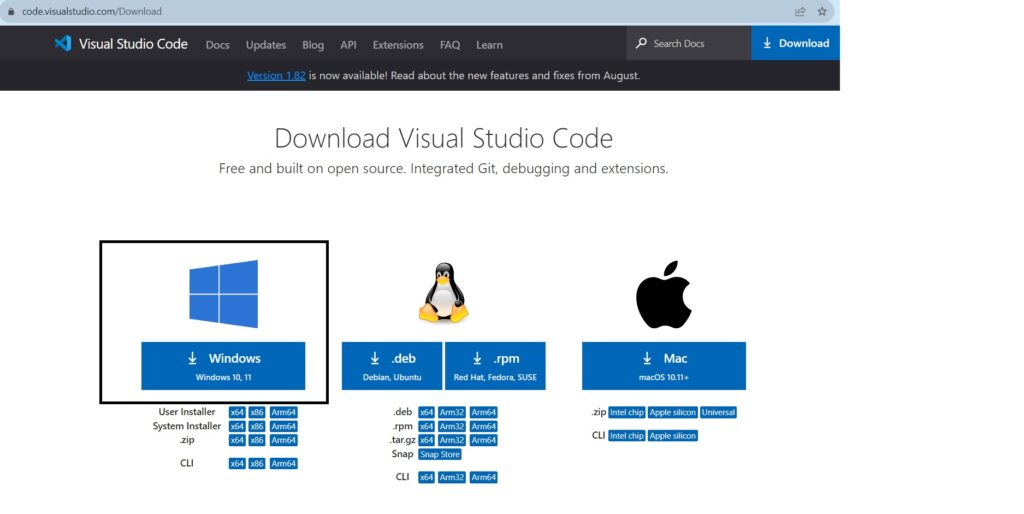
- Visit the official website of Visual Studio code from vscode or from any supported browsers.

- Click on the Windows button marked with black for Visual Studio Code installer to get downloaded on your windows machine.
Step 2 : Running the Installer
Once downloaded, double click on the vs code installer for installation process.
- Installer will display the all the licensed Agreement and will ask you to accept the terms and conditions of the Visual Studio Code, Click on I accept the agreement and click on Next button.

Also Read: Download and Install Angular
Step 3 : Choosing the folder for Installation
- Select the destination folder where you want the Visual Studio Code to get installed. Click on Next to proceed with the Installation.

- Select a folder where you want the Visual Studio Code to be access from Start Menu. You can choose a different folder as per your preference, Click on Next to continue.

Step 4 : Selecting the Additional Tasks
- Select the checkbox to create Desktop startup icon and other start menu shortcuts for easy access. Click on Next to continue.

Step 5 : Installing the Visual Studio Code
- Click on Install to begin the installation process for Visual Studio Code on your Windows machine.

Step 6 : Launching the Visual Studio Code post Installation
- Once the installation is completed, you will see the below screen. Check if the Launch Visual Studio Code option is checked and click on Finish.

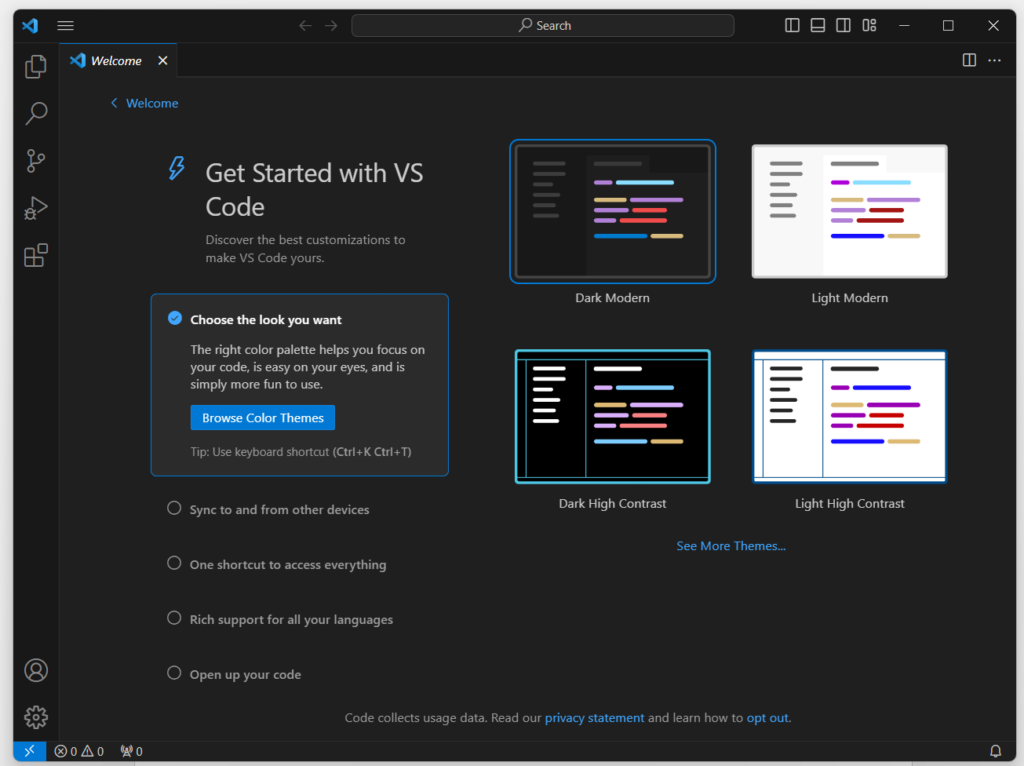
- Visual Studio Code will be launched, now you can create a new file or a project in your Visual Studio Code IDE.

Conclusion
In this blog we saw a step-by-step guide on how to install Visual Studio Code on your Windows Machine.With Visual Studio Code installed on your Windows machine, you’re all set to dive into efficient and productive coding. Happy coding!


