How to Install Angular on Windows
Angular is one of the popular JavaScript framework that empowers developers to build dynamic and interactive web applications. In this step-by-step guide, we’ll show you how to setup Node.js and install Angular on your Windows machine, with example-driven guide. Let’s embark on this journey together!
As Angular is written in TypeScript, you need to have Node.js and npm(Node package manager) installed on your Windows machine. No worries we’ll guide with the installation of node as well.
Prerequisite
To install Angular, we need to have Node.js downloaded in our system, where node has npm (Node Package Manager) which we need for installing Angular CLI and other packages.
Note: Node.js is an open-source JavaScript runtime environment that allows developers to run JavaScript code on the server.
Download Node.js and Angular on Windows
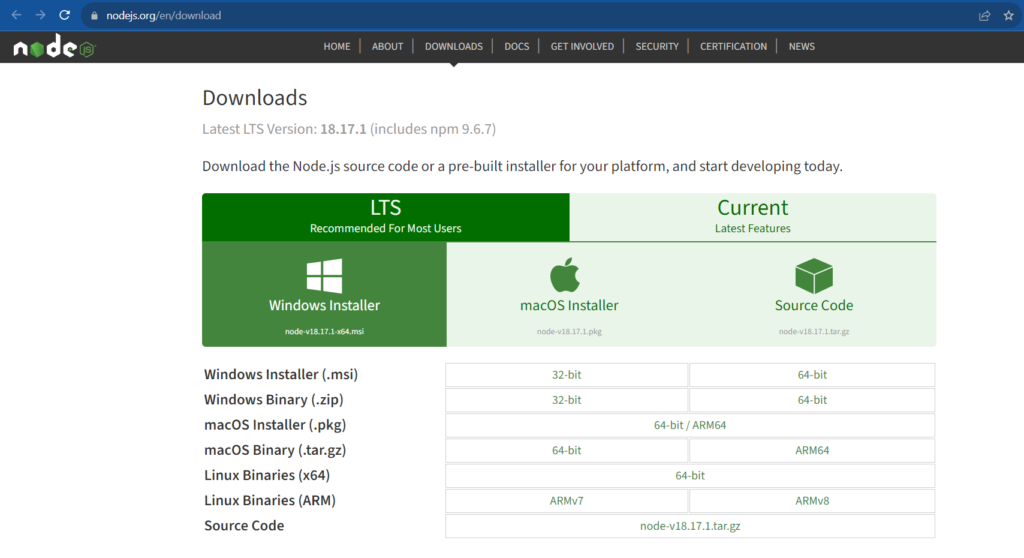
Step 1 : Click on Node.js to navigate to the official website of Node.js and click on Windows Installer to download the latest version.

Step 2 : Installation of Node.js
- After downloading, launch the nodejs installer, and click on Next button

- In the next screen, Accept the license Agreement by checking the below checkbox and click on Next button

- Next, choose the destination folder where you need to install Node.js and click on Next button

- Now you need to choose which components / features need to be installed. For default installation you can proceed with Node.js runtime and click on Next button

- Click on Install to begin the installation of Node

Also Read: How to Install Visual Studio Code
- Once the Installation is done, click on the Finish button.

As Installation is now completed, we need to verify the version by following below steps
Step 3 : Open command prompt and run the below version command
node --version
But instead of showing the version we might get the above error. To resolve this issue, we will add an entry in the path section of environment variables.
Step 4 : Search for Edit the system environment variables in start and click on Environment Variables

Step 5 : Double click on the Path Section under User variables for Admin

Click on New to add a new entry in the section and paste the nodejs file location where you have installed and click on Ok. In my case I have kept in Program files you can keep it as per your preference.

Step 6 : After saving the settings open a new command prompt window and run the below commands to verify the current version installed in our system.
Command to check the node version
node --version
Command to check the npm version
npm --version
Step 7 : As node and npm are installed on our system, we can now proceed with Angular installation
Run the below command to install Angular cli
npm install -g @angular/cliThis will install Angular globally with the latest version.

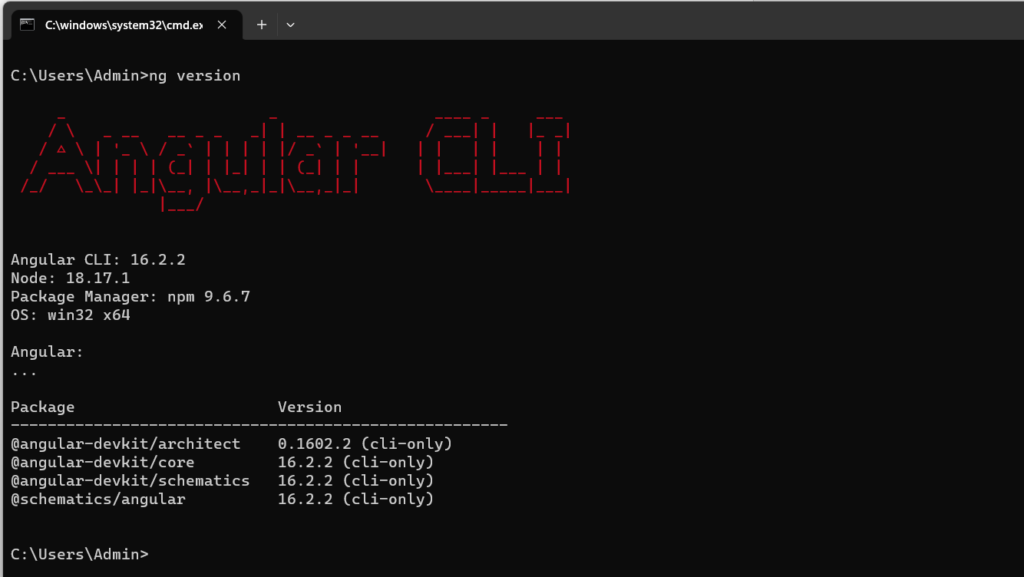
Command to check the Angular version
ng version
Installation of Previous version of Angular (Optional)
To install any previous version of Angular we can use the command npm install -g @angular/cli@version_number
npm install -g @angular/cli@12.1.1Conclusion
In conclusion, we have provided you a step-by-step guide for the setup of Node.js and installation of Angular on our windows machine. As Node.js being your runtime and Angular as your front-end framework you’re well-prepared to dive into web development journey.


